使用 Vue 3 + Vite 开发 Figma 插件
BB
上回简单介绍了下 Figma 插件的创建基本流程,这次我们将深入了解插件原理并使用 vue3 + vite 快速创建一个插件项目。
Figma 插件原理
首先 Figma 的插件在平台里怎么运行的,看这里 👉 How Plugins Run。
感兴趣的朋友也可以查看 Figma 博客 How to build a plugin system on the web ,了解一下整个插件系统设计的心路历程。
插件组成
Figma 插件分为两个部分:
- code.js:运行在主进程隔离沙箱里,可访问专门的 API 来操作 Figma 文档
- ui.html:通过 iframe 嵌入在页面里的插件 UI
两部分通过 postMessage 进行通信。

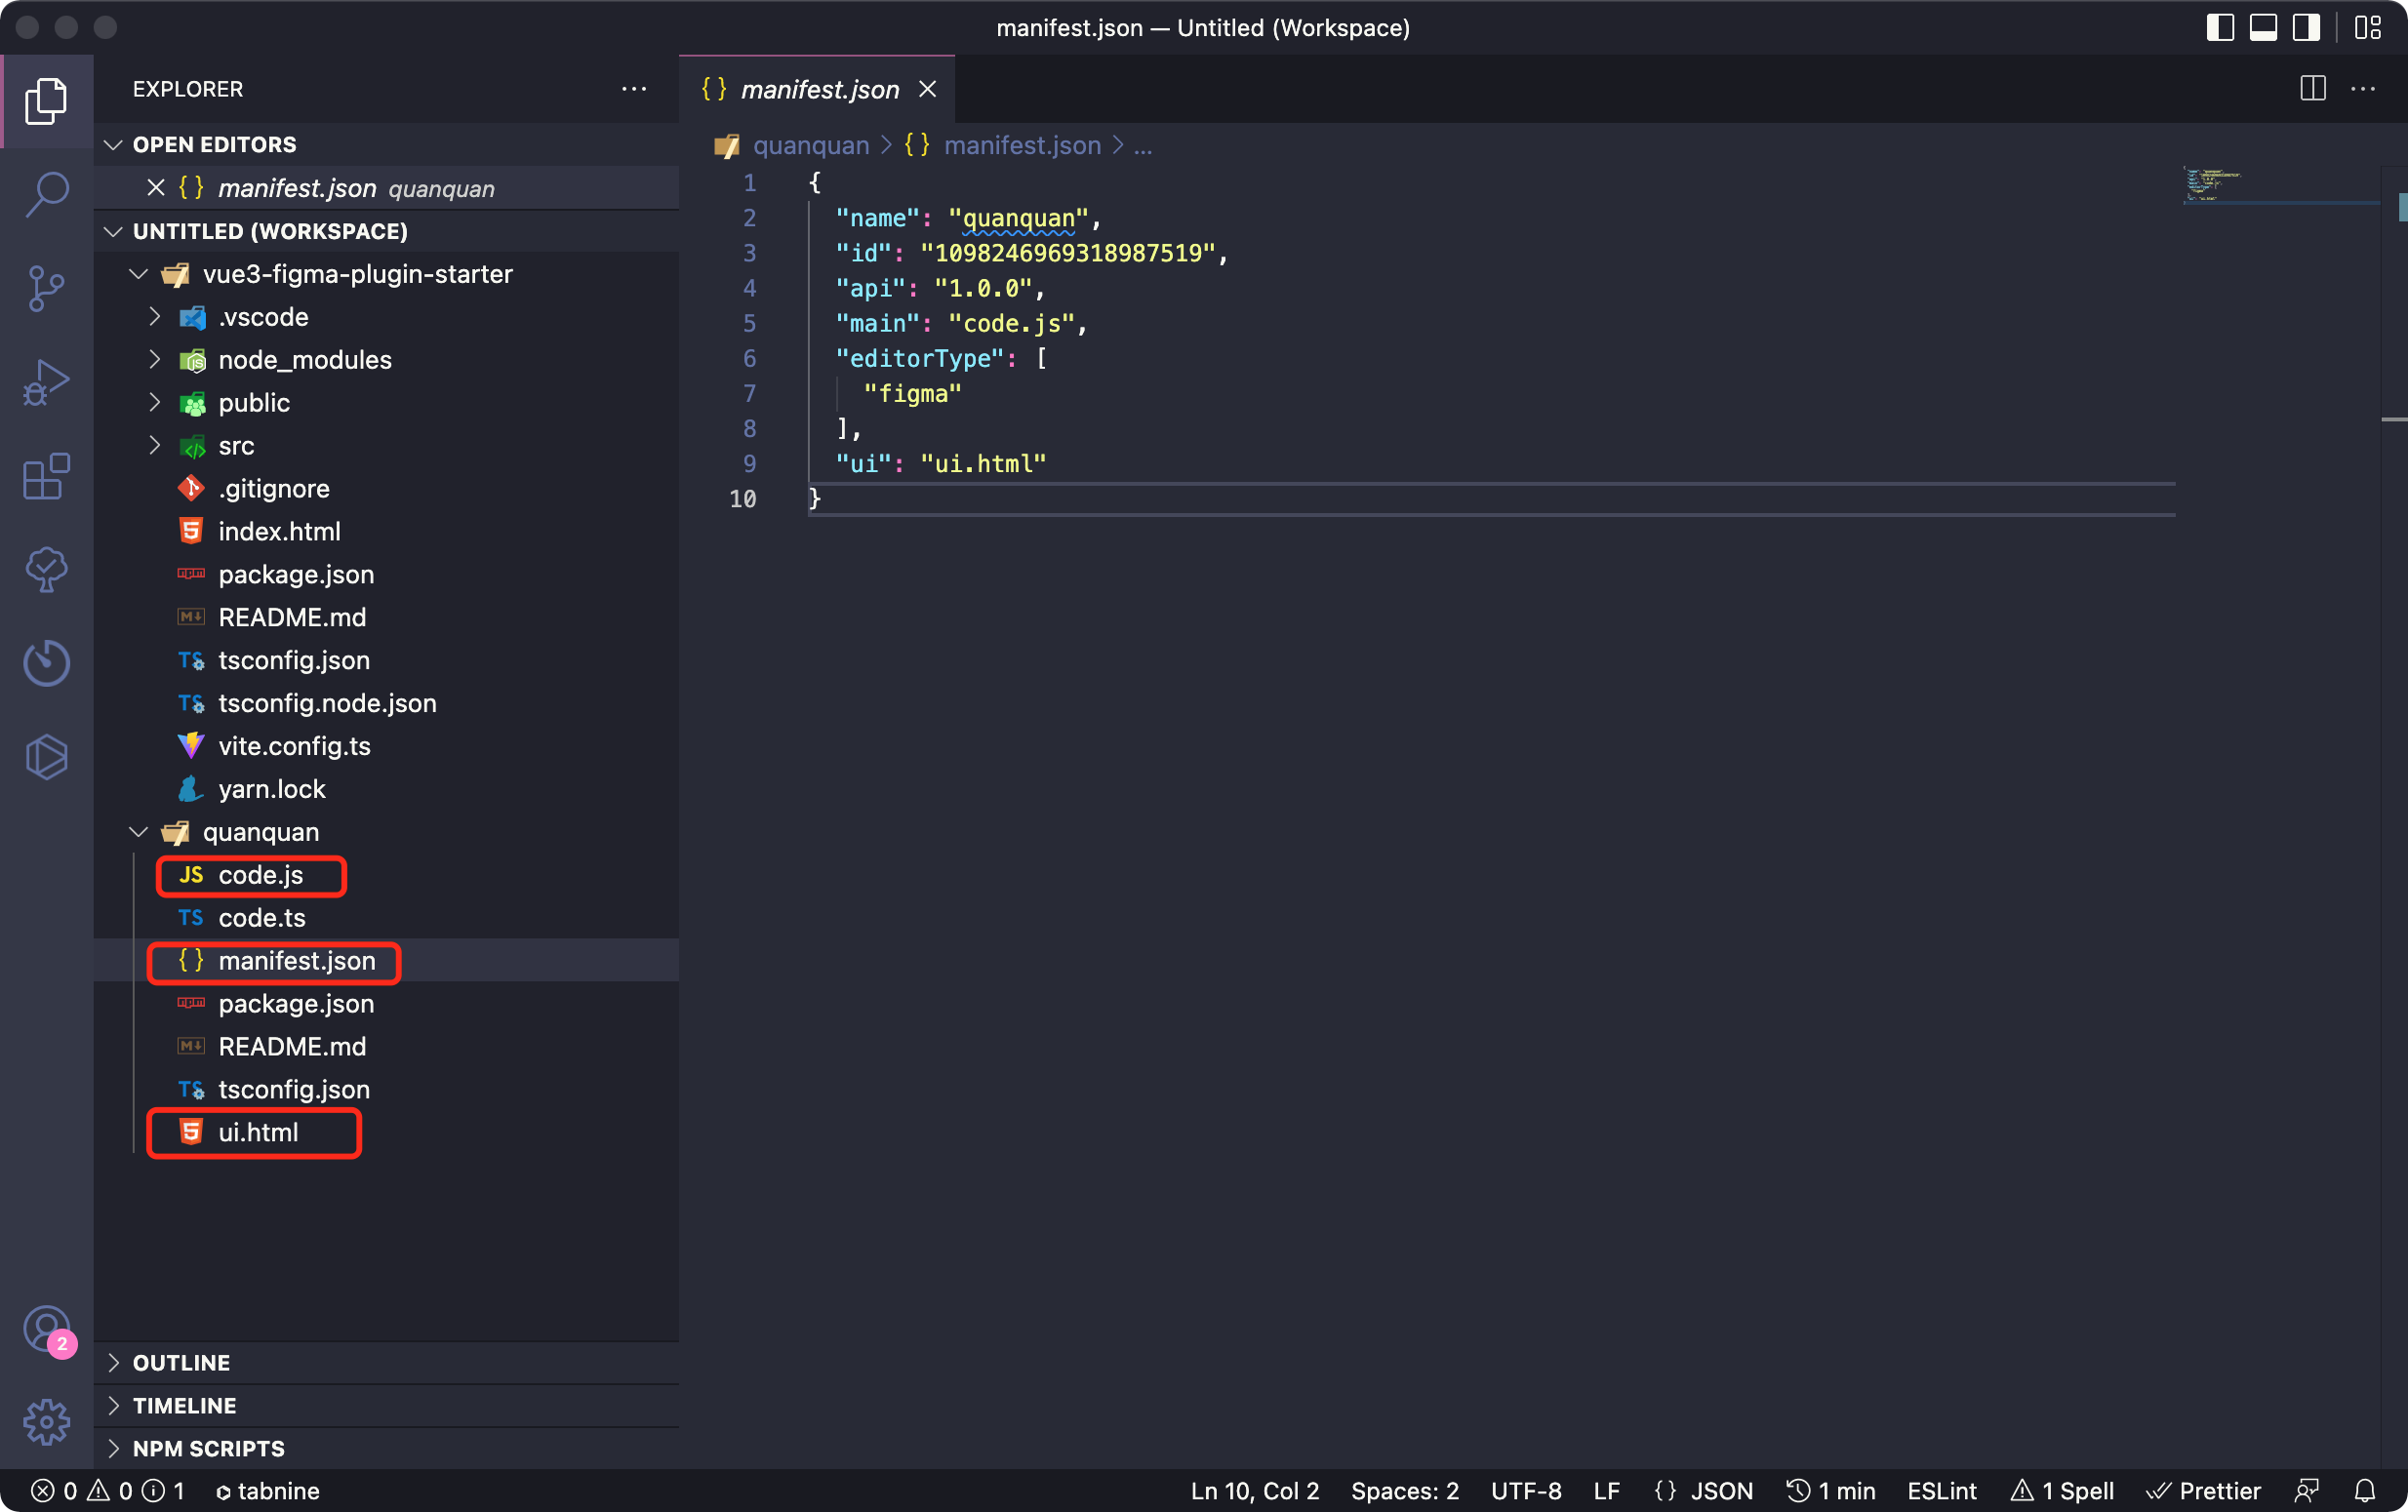
 整个插件配置文件 manifest.json 也很简单明了。
{
  // 插件名称
  "name": "quanquan",
  // 插件ID 自动生成
  "id": "109824696931xxxx519",
  // api 版本号
  "api": "1.0.0",
  // 运行在主进程隔离沙箱的 api 操作代码
  "main": "code.js",
  // 插件类型
  "editorType": ["figma"],
  // 插件 UI
  "ui": "ui.html"
}
but 对于复杂的插件来说,用原生 js、css 来开发效率非常低效,所以趁着 vue3 新文档的发布,咱决定使用 vue 3 + vite 搭建一个快速开发插件的模板。
go!
创建项目
yarn create vite vue3-figma-plugin-starter --template vue-ts
cd vue3-figma-plugin-starter
yarn
yarn dev
然后动动小鼠标打开 http://localhost:3000 咱们就已经成功了一半
迁移代码
现在呢,我就有了两个项目文件,一是通过 Figma desktop app 创建的插件项目 quanquan,和另一个用 vite 脚手架创建的 vue3-figma-plugin-starter。
首先咱先考虑下迁移策略,🤔 从上面我们知道, Figma 插件其实只需要 3 个文件 code.js 、ui.html 以及配置文件 manifest.json。
而 vite 项目构建后会在 dist 目录下生成一个 index.html 作为入口文件, public 目录下的文件在构建时也会被复制到 dist 目录下。
那么,我们需要做的就是:
- 将 manifest.json 放到 public 根目录下,并把 ui 地址改为 index.html 即
"ui": "index.html" - 在根目录新建 figma 文件夹,将 code.ts 复制进去,并配置上构建脚本,将其自动编译成 code.js 并输出到 dist 目录下
- 使用 vue 实现原 ui.html 的功能
添加 ts 声明
第一步,安装上必要的声明依赖
# 添加 figma ts声明
yarn add -D @figma/plugin-typings
迁移配置文件
将 manifest.json 放到 public 根目录下
{
  "name": "quanquan",
  "id": "1098246969318987519",
  "api": "1.0.0",
  "main": "code.js",
  "editorType": ["figma"],
  // ui.html -> index.html
  "ui": "index.html"
}
添加 code.ts 及构建脚本
在根目录新建 figma 文件夹,将原 code.ts 复制进去
PS. 不要忘记在文件顶部声明依赖
/// <reference types="@figma/plugin-typings" />
// This plugin will open a window to prompt the user to enter a number, and
// it will then create that many rectangles on the screen.

// This file holds the main code for the plugins. It has access to the *document*.
// You can access browser APIs in the <script> tag inside "ui.html" which has a
// full browser environment (see documentation).

// This shows the HTML page in "ui.html".
figma.showUI(__html__)

// Calls to "parent.postMessage" from within the HTML page will trigger this
// callback. The callback will be passed the "pluginMessage" property of the
// posted message.
figma.ui.onmessage = (msg) => {
  // One way of distinguishing between different types of messages sent from
  // your HTML page is to use an object with a "type" property like this.
  if (msg.type === 'create-rectangles') {
    const nodes: SceneNode[] = []
    for (let i = 0; i < msg.count; i++) {
      const rect = figma.createRectangle()
      rect.x = i * 150
      rect.fills = [{ type: 'SOLID', color: { r: 1, g: 0.5, b: 0 } }]
      figma.currentPage.appendChild(rect)
      nodes.push(rect)
    }
    figma.currentPage.selection = nodes
    figma.viewport.scrollAndZoomIntoView(nodes)
  }

  // Make sure to close the plugin when you're done. Otherwise the plugin will
  // keep running, which shows the cancel button at the bottom of the screen.
  figma.closePlugin()
}
配置 rollupOptions,构建 code.ts
import { defineConfig } from 'vite'
import vue from '@vitejs/plugin-vue'
// https://vitejs.dev/config/
export default defineConfig({
plugins: [vue()],
build: {
rollupOptions: {
input: {
index: 'index.html',
code: 'figma/code.ts'
},
output: {
entryFileNames: '[name].js'
}
}
}
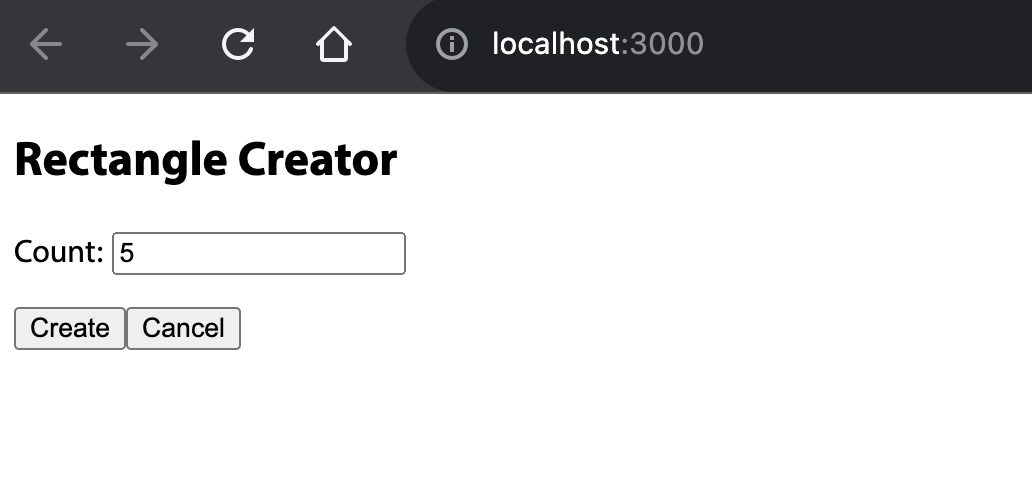
})改写 ui.html
最后再用 vue3 重新编写原 ui.html 页面功能
<script setup lang="ts">
  import { ref } from 'vue'
  const count = ref(5)

  const create = () => {
    parent.postMessage({ pluginMessage: { type: 'create-rectangles', count: count.value } }, '*')
  }

  const cancel = () => {
    parent.postMessage({ pluginMessage: { type: 'cancel' } }, '*')
  }
</script>

<template>
  <h2>Rectangle Creator</h2>
  <p>Count: <input v-model="count" /></p>
  <button @click="create">Create</button>
  <button @click="cancel">Cancel</button>
</template>
over! 迁移结束,yarn dev 运行看看,正常 
yarn build 构建一下,没有报错 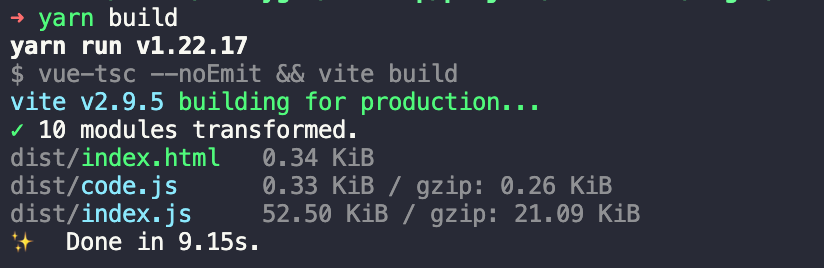
那么到目前为止,我们的目录结构就是这样的,一家人 👪 在 dist 目录下整整齐齐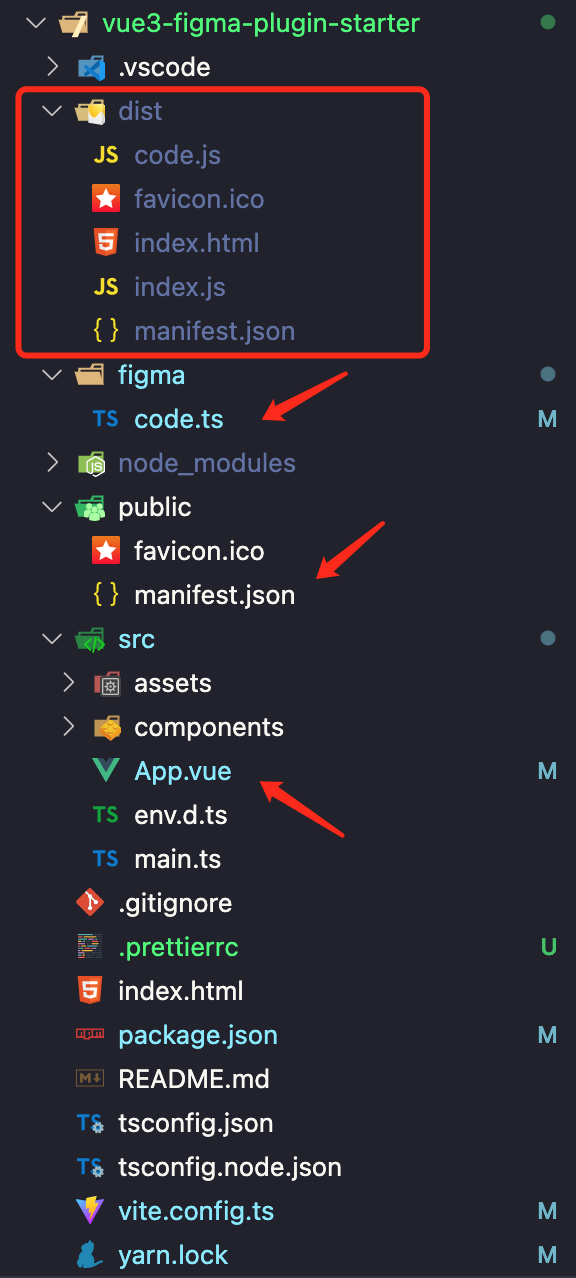
运行插件
回到 Figma 里运行一下,选择 Plugins -> Development -> Import plugin from manifest… ,导入 dist 目录下的 manifest.json。
见证奇迹的时刻就要到了,朋友们!
当当当当~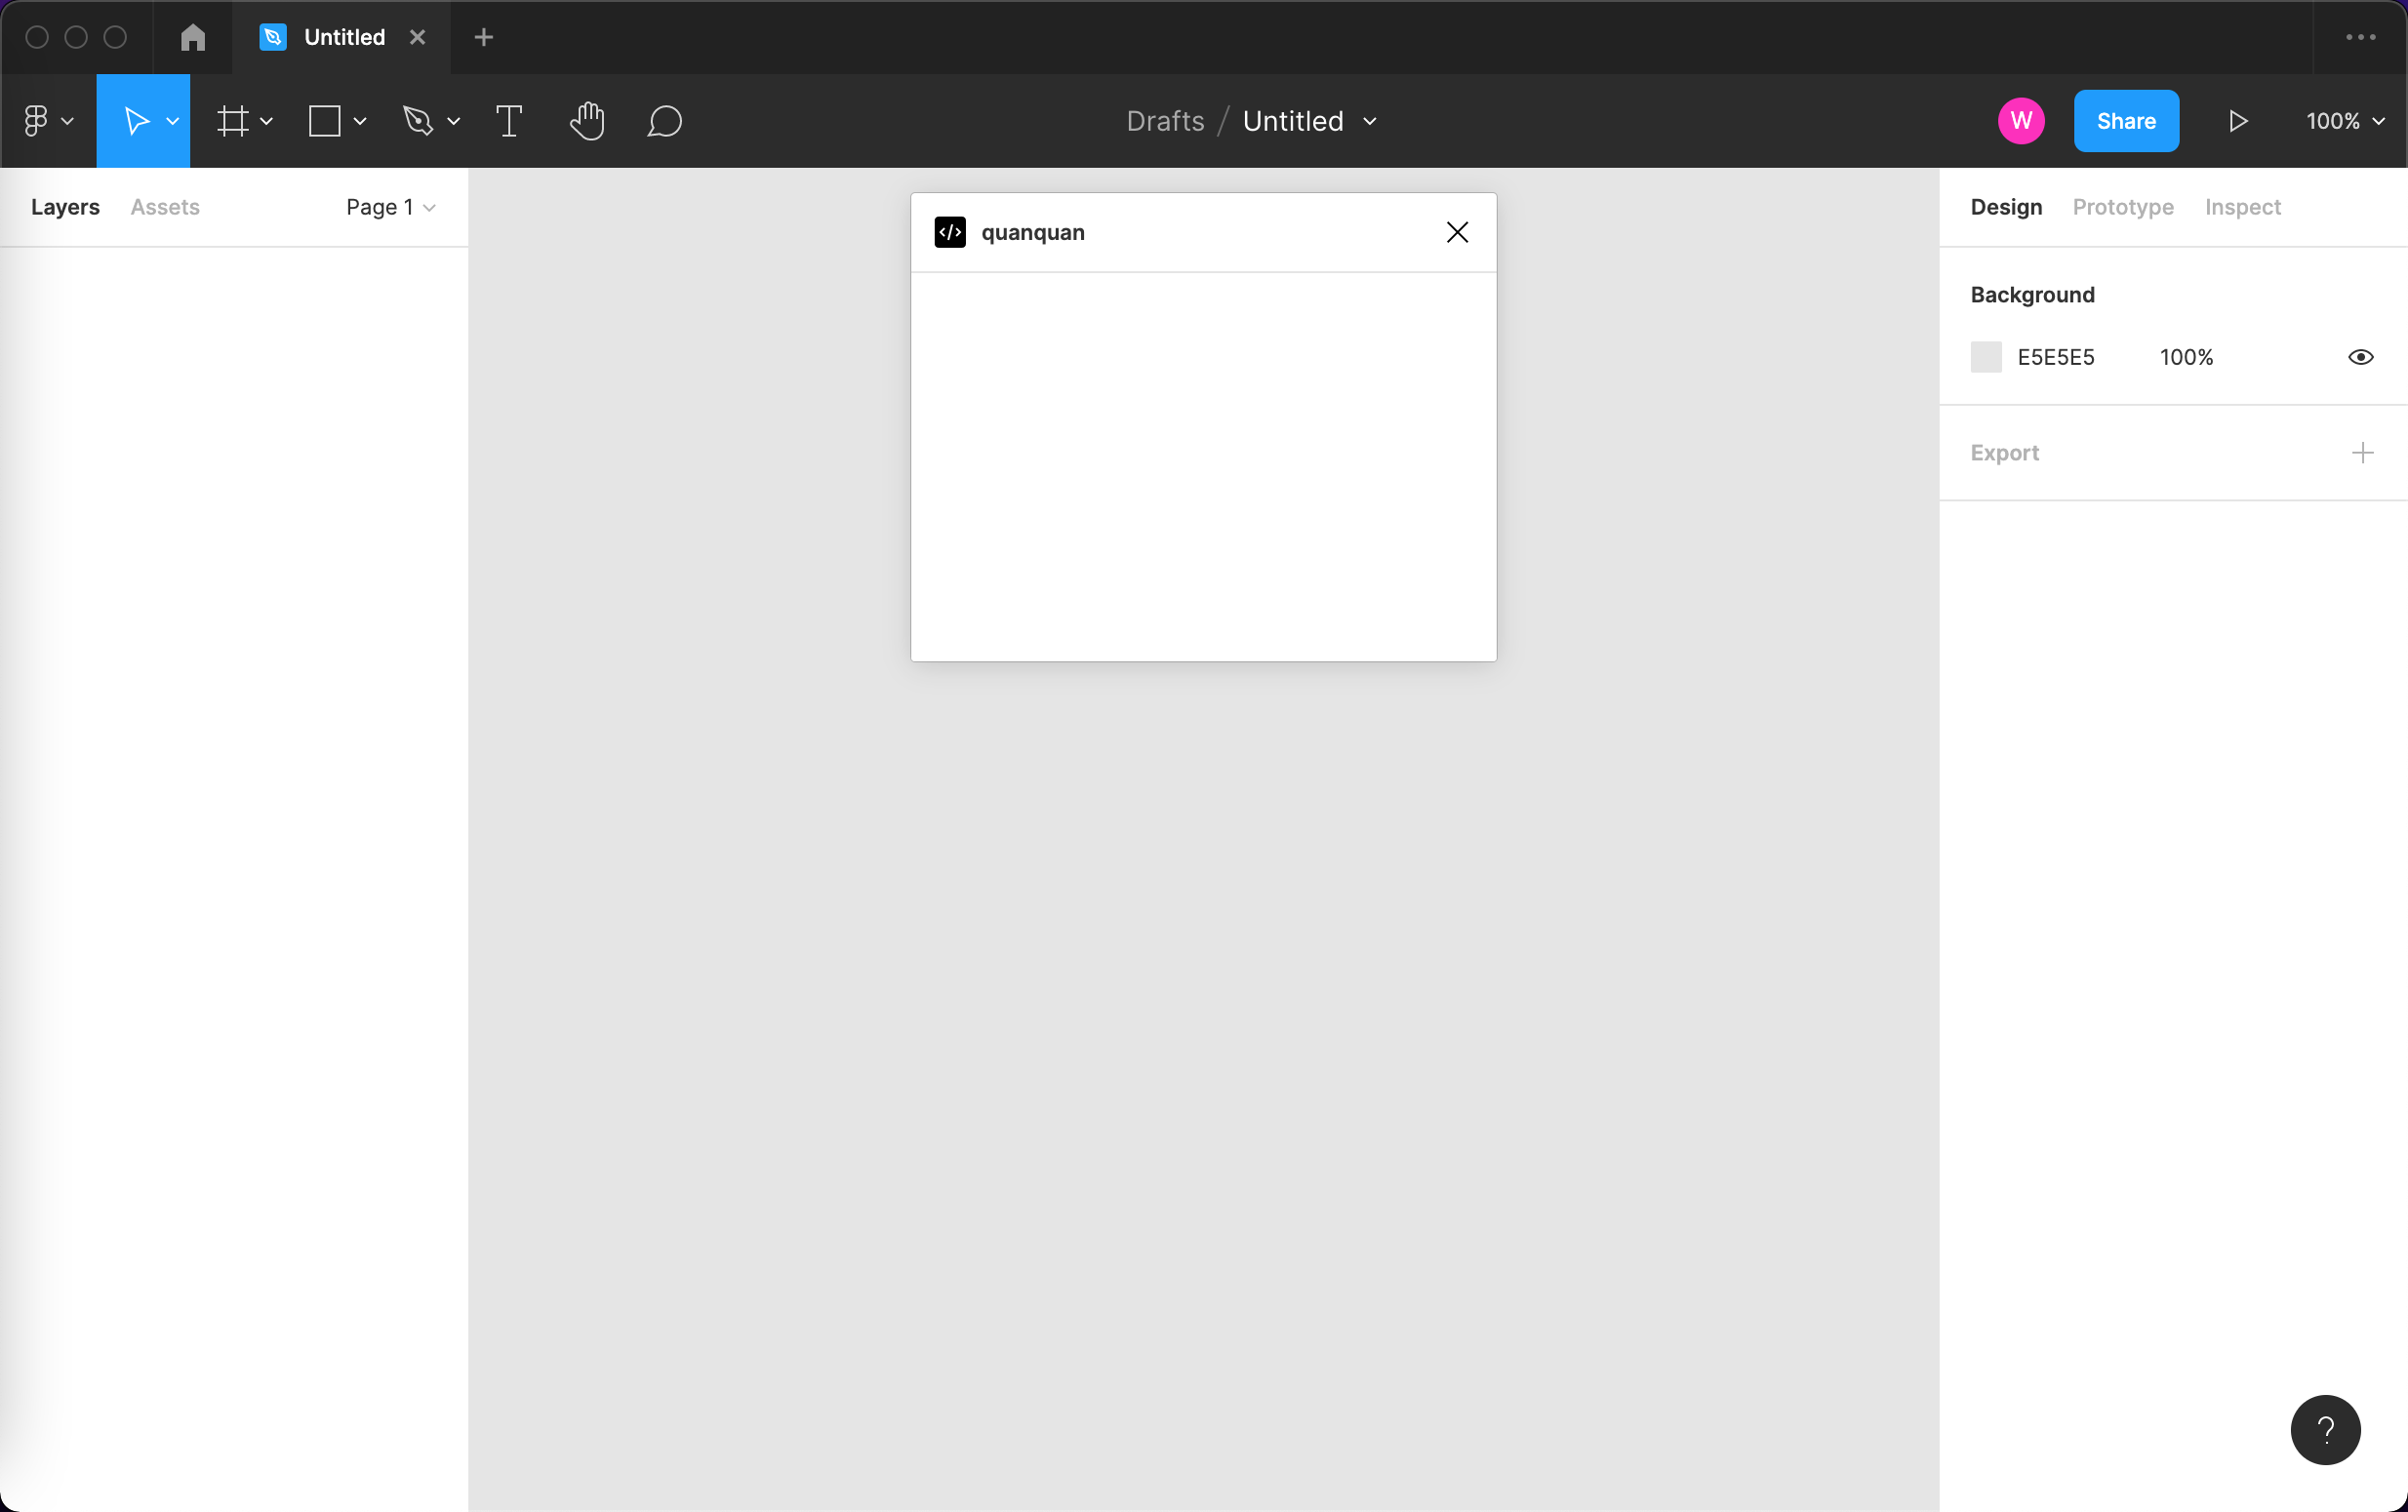
没有任何东西 
为了缓解这尴尬的气氛,我们来放首歌吧
Tell Me Why
听完歌翻了下官网,发现了这么一句话 🚬
But all the code must be in one file —— Libraries and bundling
还给了 React 和 Webpack 的示例,巧了嘛,这不是,我用的 Vue 和 vite (Rollup)🚬
你要代码都放在一个文件里,那我把 js、css 直接构建到 index.html 里不就可以嘛
# 安装 singlefile 插件
yarn add -D vite-plugin-singlefile@0.7.1至于为什么要指定 0.7.1 版本,因为 ERR_REQUIRE_ESM https://github.com/richardtallent/vite-plugin-singlefile/issues/23
vite.config 中配置插件及资源阈值及禁止 css 拆分
import { defineConfig } from 'vite'
import vue from '@vitejs/plugin-vue'
import { viteSingleFile } from 'vite-plugin-singlefile'

// https://vitejs.dev/config/
export default defineConfig({
  plugins: [vue(), viteSingleFile()],
  build: {
    // https://vitejs.cn/config/#build-csscodesplit
    cssCodeSplit: false,
    // https://vitejs.cn/config/#build-assetsinlinelimit
    assetsInlineLimit: 100000000,
    rollupOptions: {
      input: {
        index: 'index.html',
        code: 'figma/code.ts'
      },
      output: {
        entryFileNames: '[name].js'
      }
    }
  }
})
重新构建运行下,我的奇迹回来了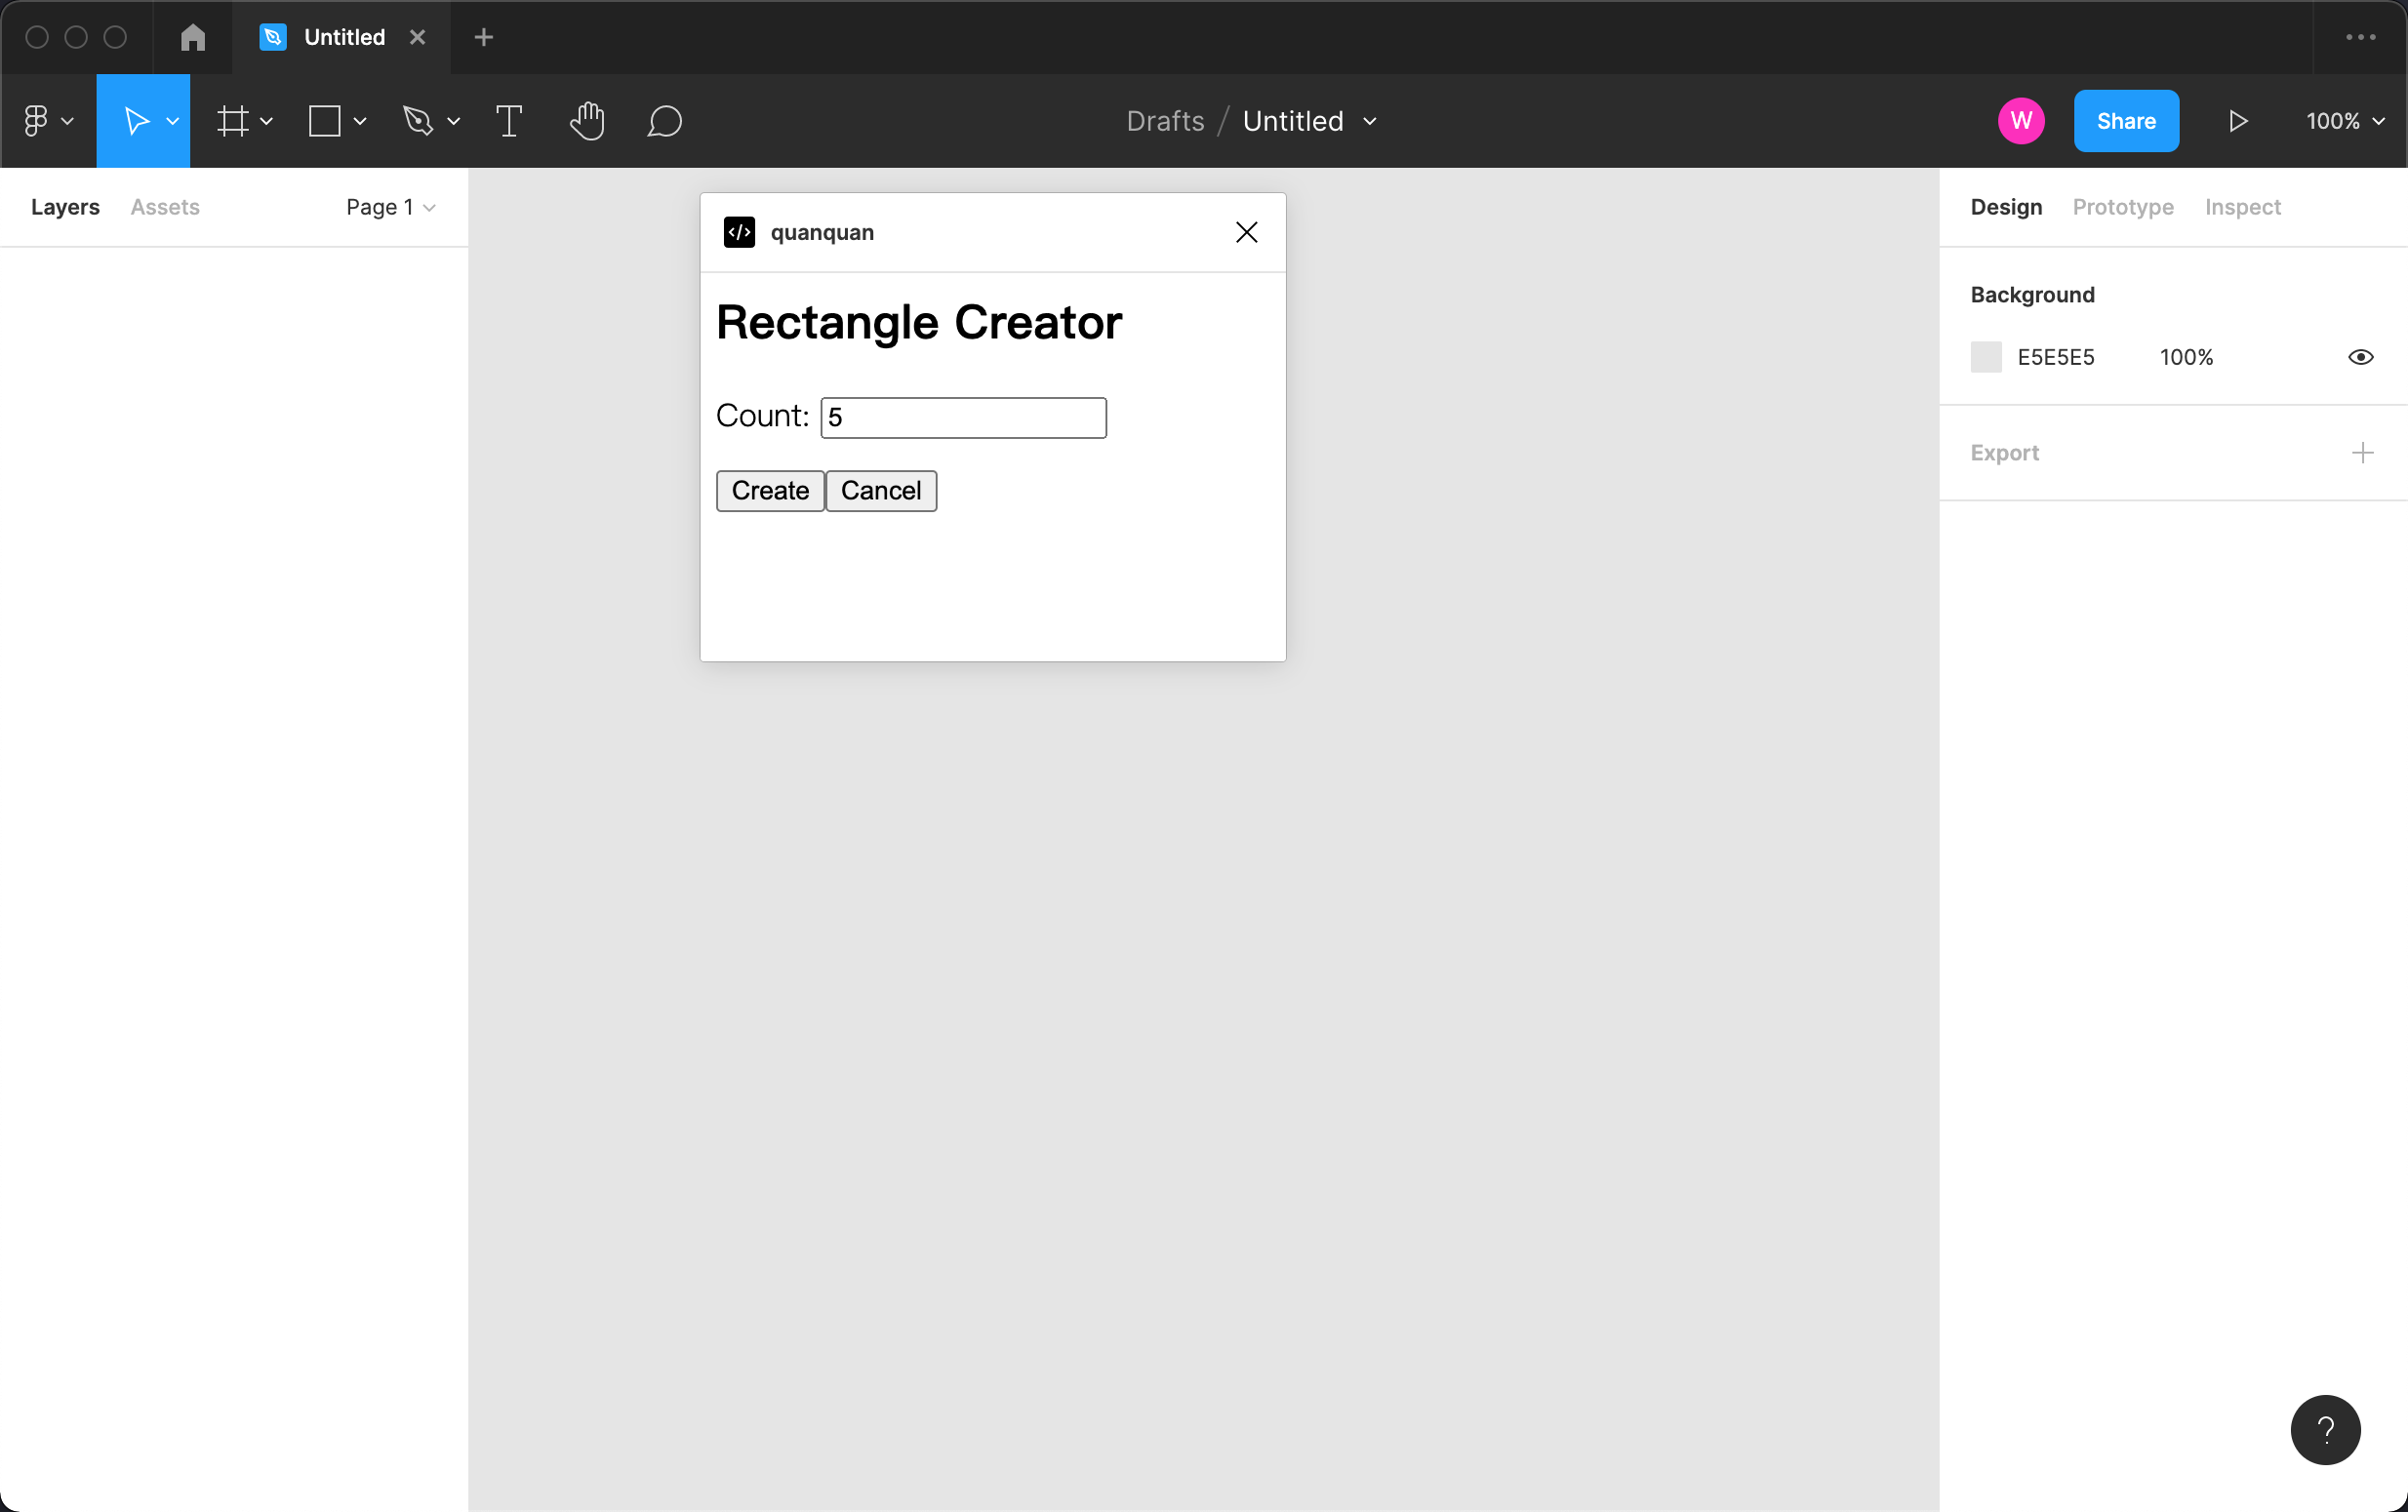
另一种方式
PS.
后面我打开了控制台看了下资源加载,发现前面插件空白的根本原因其实在 Figma 的资源加载方式上
You have to use absolute URLs starting with http:// or https:// and host the resources on your own server. —— Resource Links
普通构建后的 js、css 文件都是相对路径,在 Figma 插件里其实是找不到的,如果将资源地址改为绝对路径,其实也能解决问题,比如在本地指定端口启动静态站点服务
import { defineConfig } from 'vite'
import vue from '@vitejs/plugin-vue'

// https://vitejs.dev/config/
export default defineConfig({
  plugins: [vue()],
  base: 'http://localhost:8080/',
  build: {
    rollupOptions: {
      input: {
        index: 'index.html',
        code: 'figma/code.ts'
      },
      output: {
        entryFileNames: '[name].js'
      }
    }
  }
})
{
"name": "vue3-figma-plugin-starter",
"private": true,
"version": "0.0.0",
"scripts": {
"dev": "vite",
"build": "vue-tsc --noEmit && vite build",
"preview": "vite preview --port 8080"
},
...
}yarn build
yarn preview
这种方式在调试的时候可以这么去用,但发布的时候,你就得将资源文件上传到 WEB 服务器( NGINX or Apache )或静态文件云存储,并提供对外的绝对路径。
且不说,麻不麻烦,index.html 又做错了什么要抛弃它 😭
所以呢,一家人最重要的就是整整齐齐,还是用第一种方式打包在一起吧。
插件调试
其实对于调试我现在也没有找到更好的方法,前面一篇文章也说了,不管是 html 还是 code.js 的修改在 Figma 里都需要手动重新加载一次。
所以我现在一般是先开发样式,使用 yarn dev ,在浏览器中打开移动端调试工具,输入插件设置的宽高。
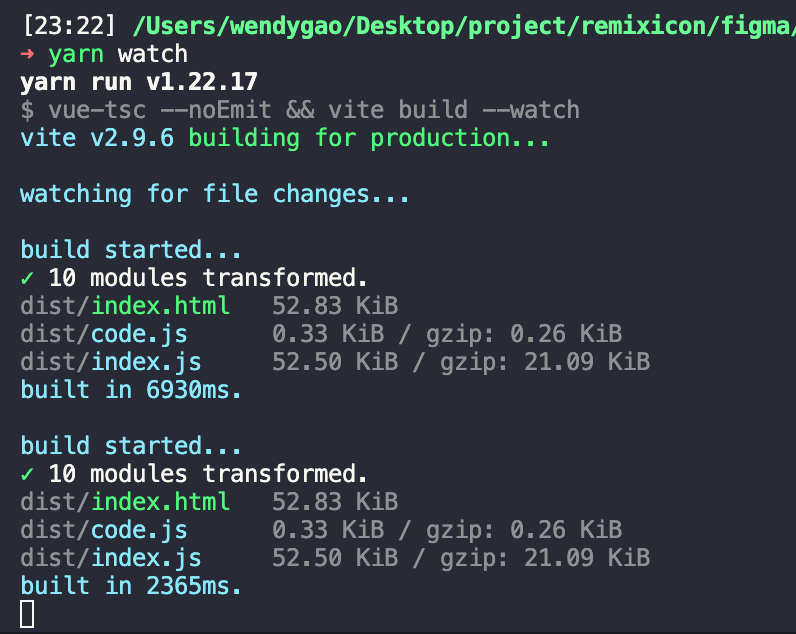
然后再配置上 build watch, 在 Figma 里调试操作文档相关的功能,也算实现了半自动化
{
  "name": "vue3-figma-plugin-starter",
  "private": true,
  "version": "0.0.0",
  "scripts": {
    "dev": "vite",
    "build": "vue-tsc --noEmit && vite build",
    "watch": "vue-tsc --noEmit && vite build --watch",
    "preview": "vite preview --port 8080"
  },
  ...
}
如果有其他更方便的调试方法,欢迎在评论区留言讨论 
最后的最后,本文中的 vue3-figma-plugin-starter 项目已开源在 GitHub 中,有需要的小伙伴可自行下载 GitHub 地址
广告时间
RemixIcon 的 Figma 插件已上线,欢迎使用 👏🏻 RemixIcon 的 Figma 插件

PREV
Tauri:初探 + 环境搭建 PART 1
NEXT