Figma 插件开发基础知识
提示
📒 本文章基于开发者有一定的前端开发经验,且本地已安装 node、npm、ts、vscode
具体可阅读官网 https://www.figma.com/plugin-docs/setup/
📢 使用到的 Figma 版本为 107.1,其他版本步骤可能有所不同
新建
选择 Home -> Plugins -> Manage Plugin -> In development -> New plugin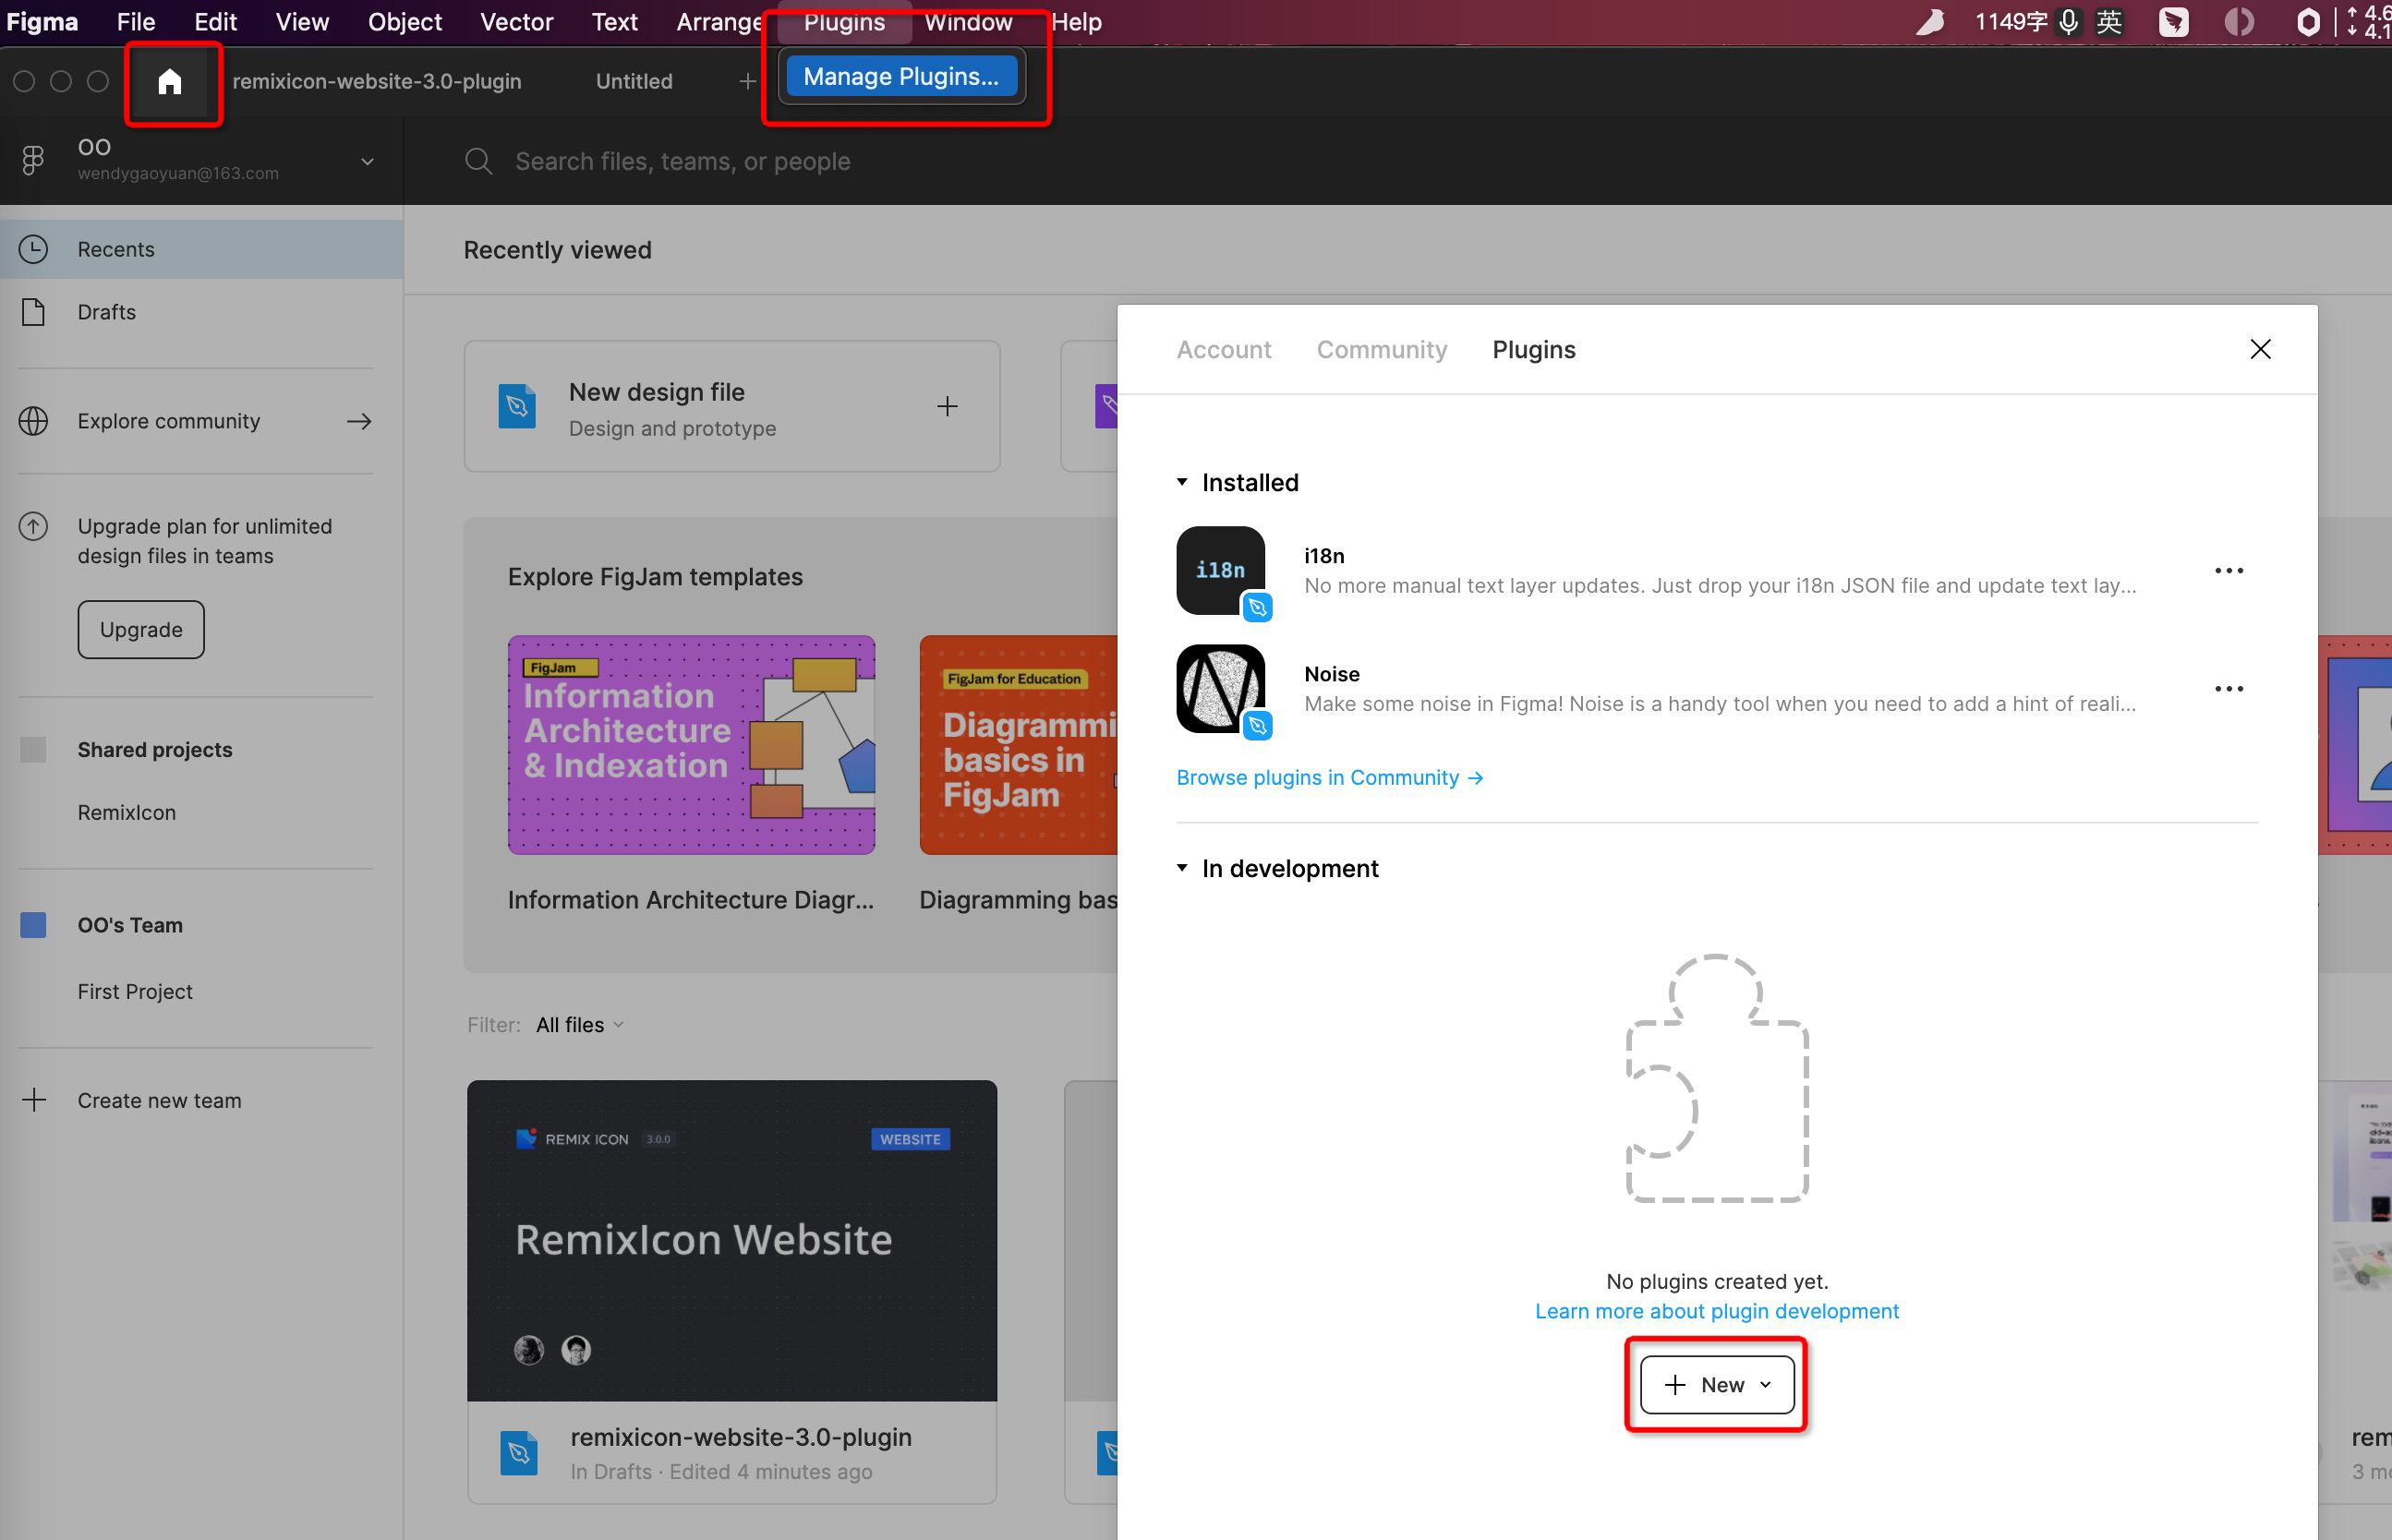
输入插件名字,选择插件类型,FigJam 是一个白板软件,咱不需要,直接选 Figma design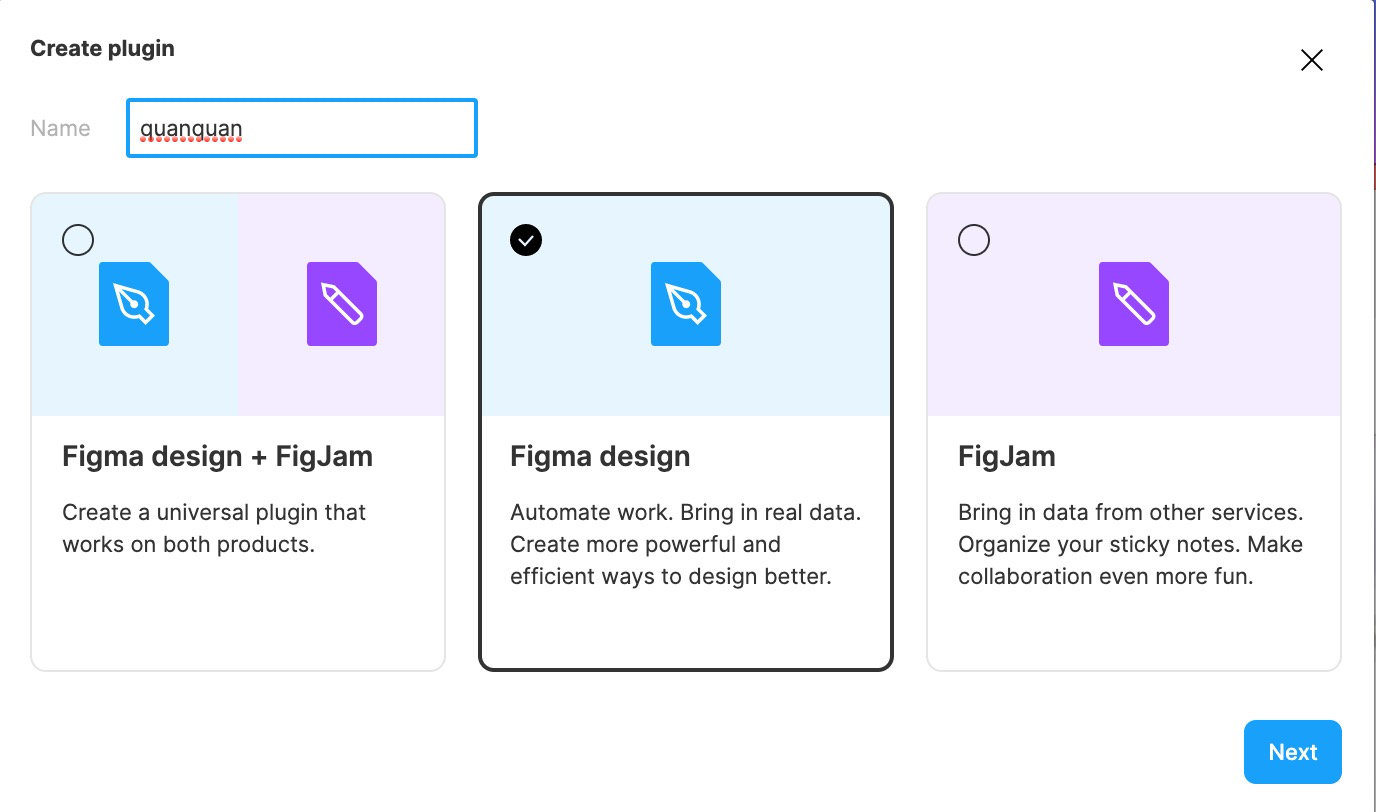
选择插件初始化模板,新手推荐选择 UI & API 的方便理解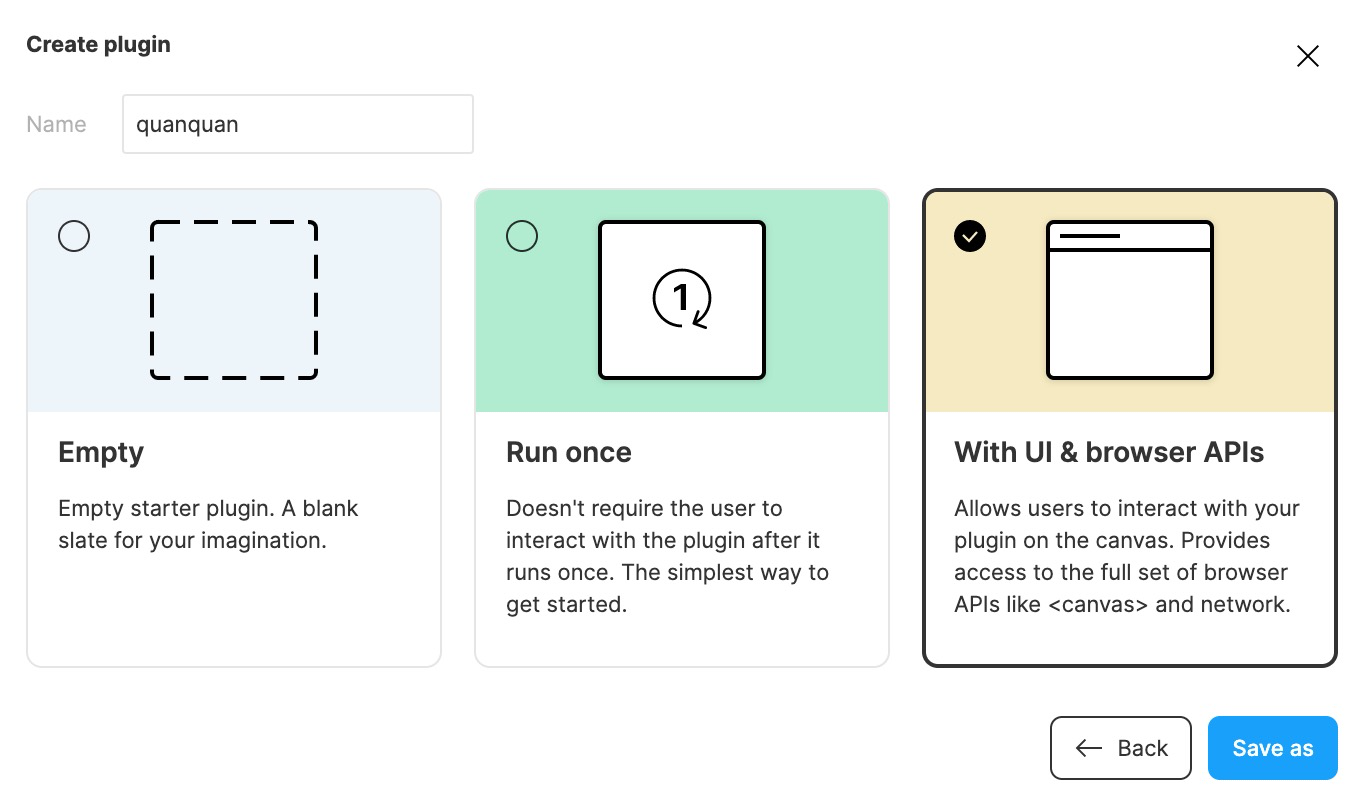
调试
安装
# 安装依赖
yarn
构建
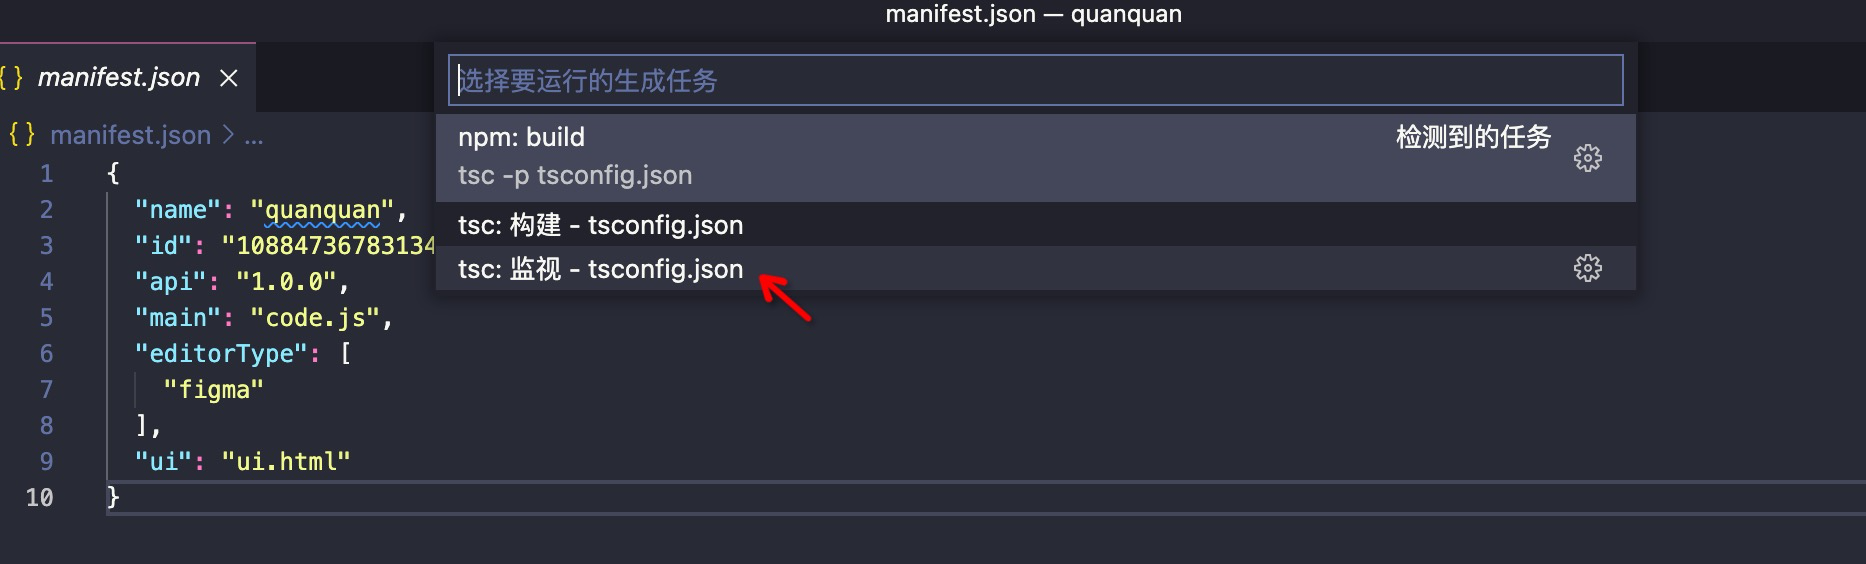
在 vscode 中打开刚才创建的插件目录,⌘⇧B(Windows 为 Ctrl-Shift-B),监听 code.ts 修改并编译成 code.js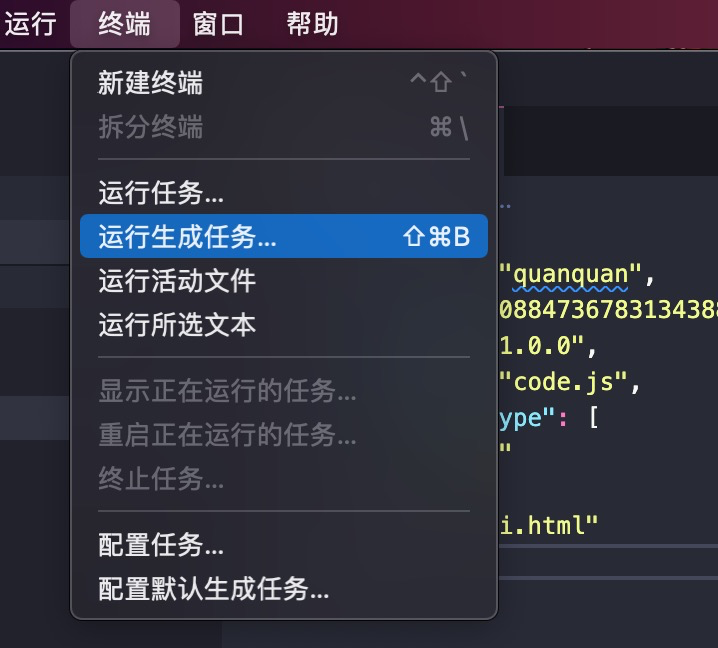
运行
回到 Figma,创建一个新设计文件,选择 Plugins -> Development -> [你自己的插件]
就可以调出模板插件界面啦,这个模板的功能就是你输入几,它创建几个橘色正方形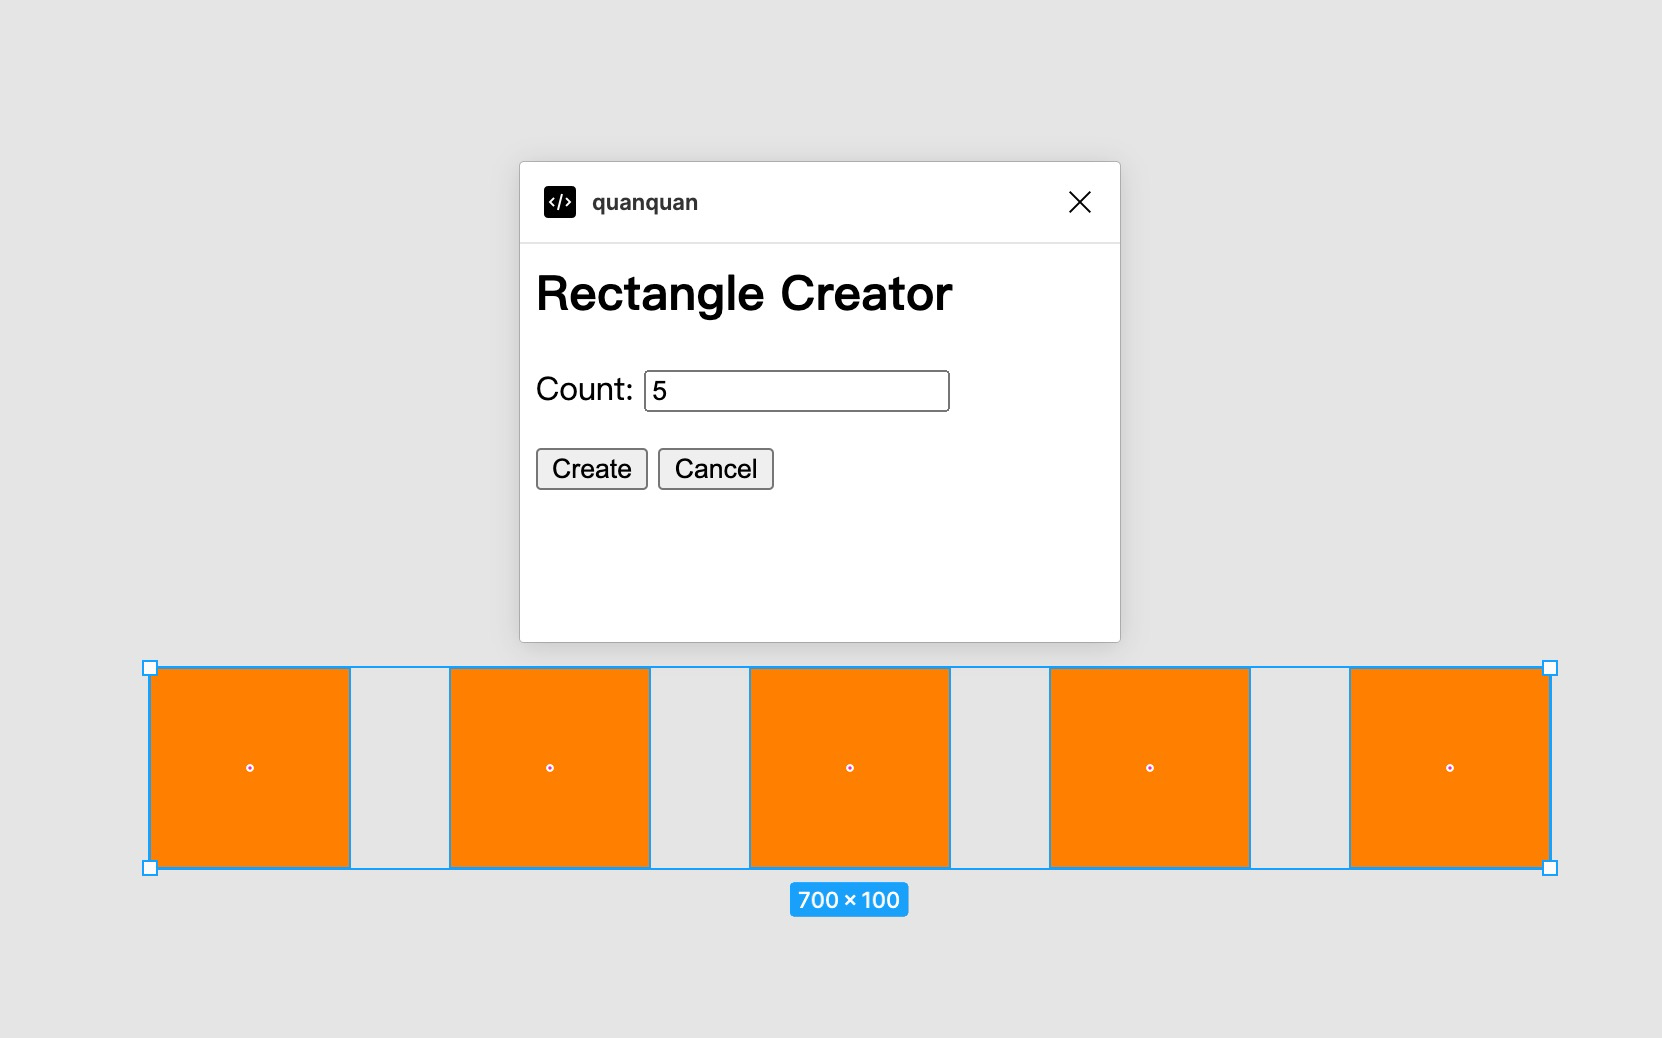
调试
html 更改
例如:修改按钮文案
<h2>Rectangle Creator</h2>
<p>Count: <input id="count" value="5" /></p>
<button id="create">创建</button>
<button id="cancel">Cancel</button>
<script>
  document.getElementById('create').onclick = () => {
    const textbox = document.getElementById('count')
    const count = parseInt(textbox.value, 10)
    parent.postMessage({ pluginMessage: { type: 'create-rectangles', count } }, '*')
  }

  document.getElementById('cancel').onclick = () => {
    parent.postMessage({ pluginMessage: { type: 'cancel' } }, '*')
  }
</script>
需要关闭插件界面,重新打开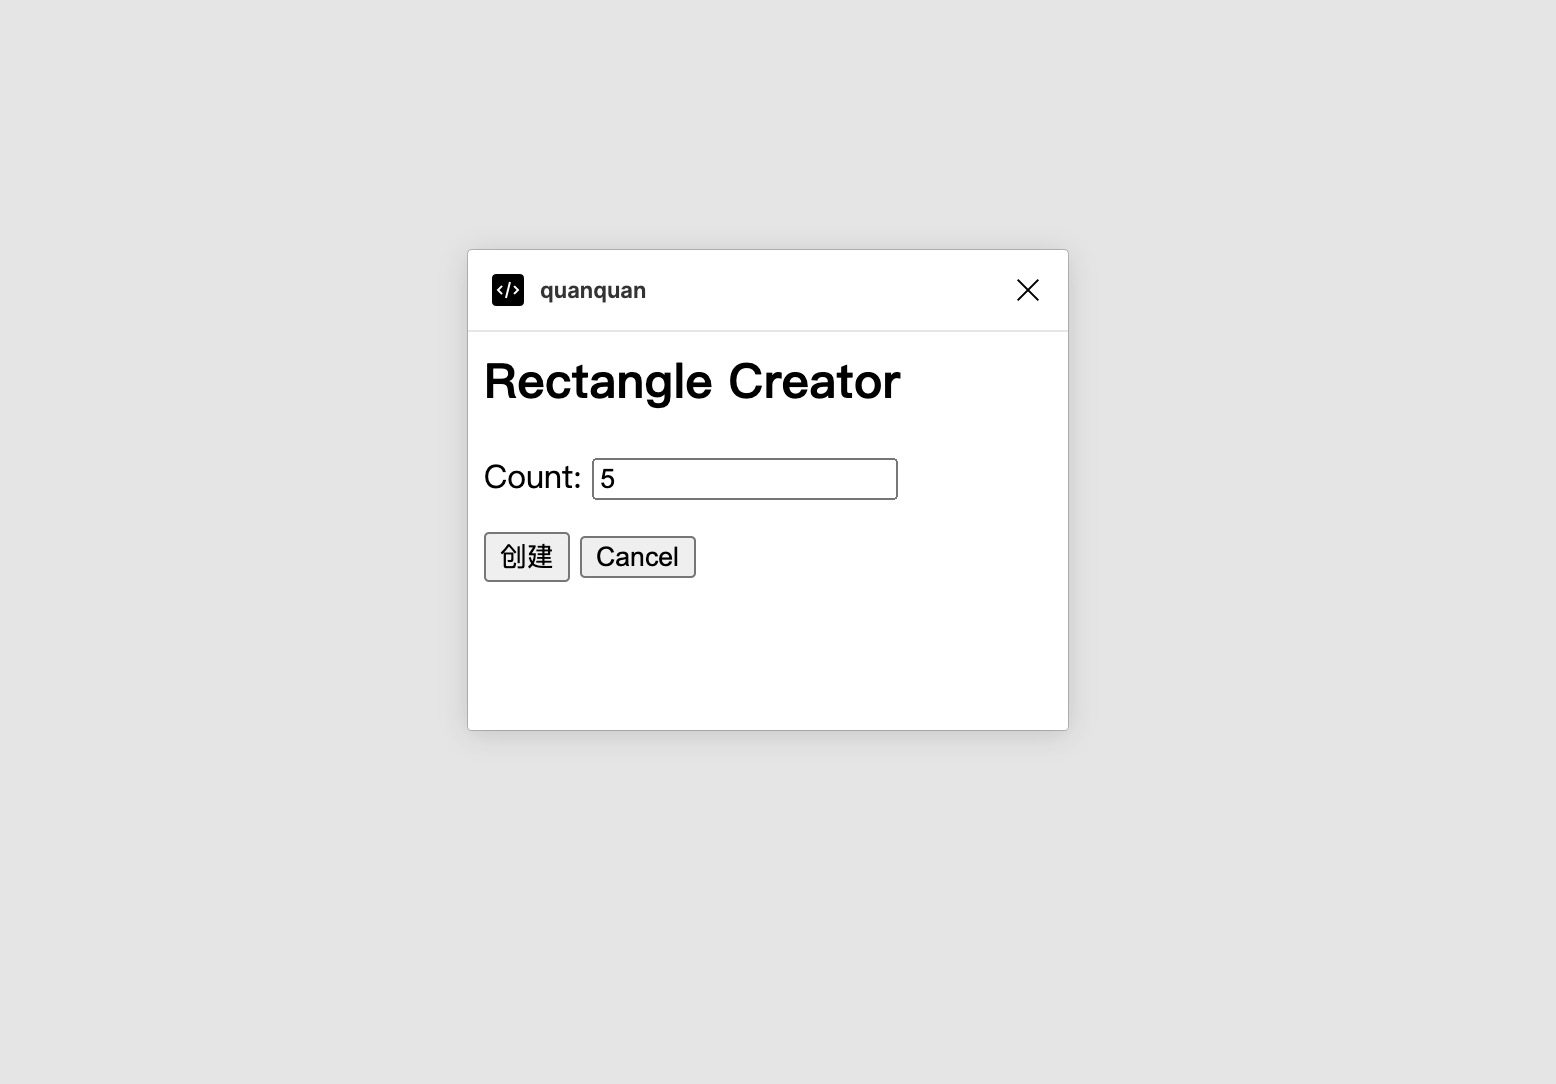
ts 更改
例如:修改方块颜色
figma.showUI(__html__)

// Calls to "parent.postMessage" from within the HTML page will trigger this
// callback. The callback will be passed the "pluginMessage" property of the
// posted message.
figma.ui.onmessage = (msg) => {
  // One way of distinguishing between different types of messages sent from
  // your HTML page is to use an object with a "type" property like this.
  if (msg.type === 'create-rectangles') {
    const nodes: SceneNode[] = []
    for (let i = 0; i < msg.count; i++) {
      const rect = figma.createRectangle()
      rect.x = i * 150
      rect.fills = [{ type: 'SOLID', color: { r: 1, g: 0.5, b: 0.5 } }]
      figma.currentPage.appendChild(rect)
      nodes.push(rect)
    }
    figma.currentPage.selection = nodes
    figma.viewport.scrollAndZoomIntoView(nodes)
  }

  // Make sure to close the plugin when you're done. Otherwise the plugin will
  // keep running, which shows the cancel button at the bottom of the screen.
  figma.closePlugin()
}
需要选择 Plugins -> Run last plugin,重新加载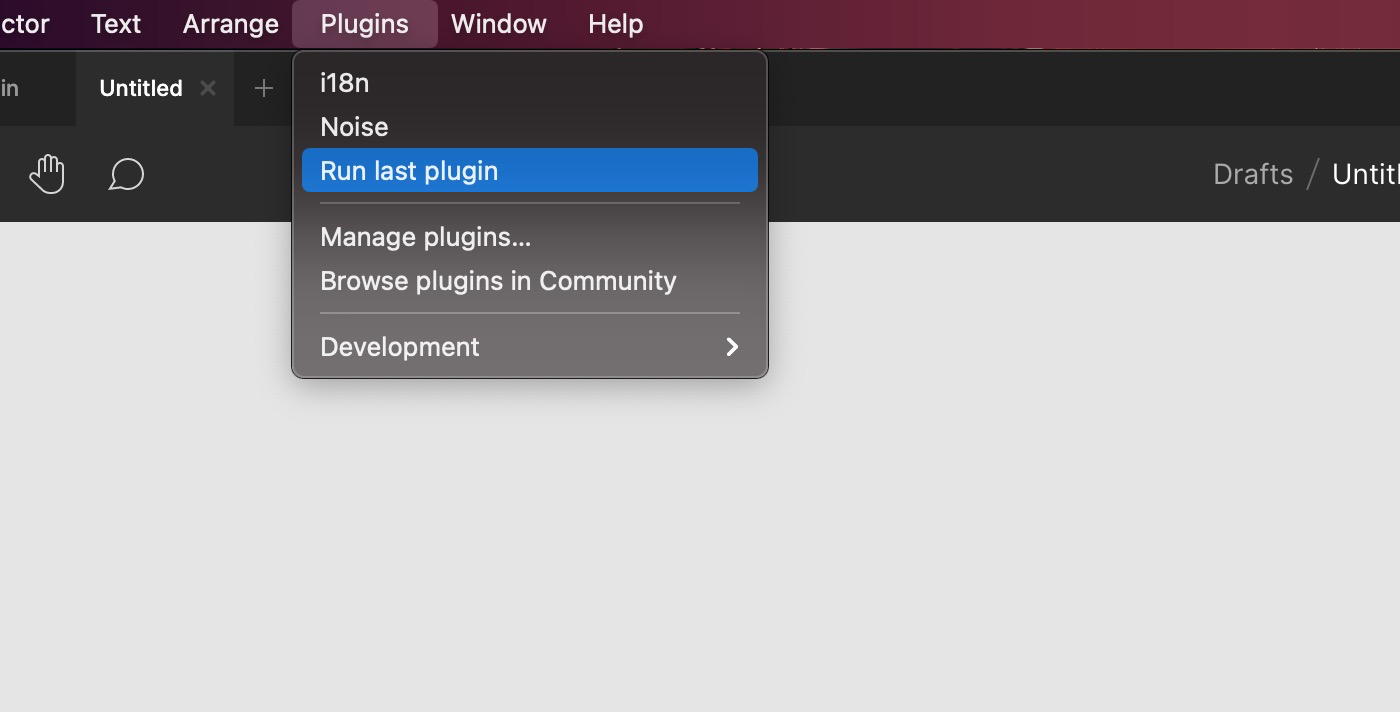
PREV
用 Node.js 写个命令行工具
NEXT